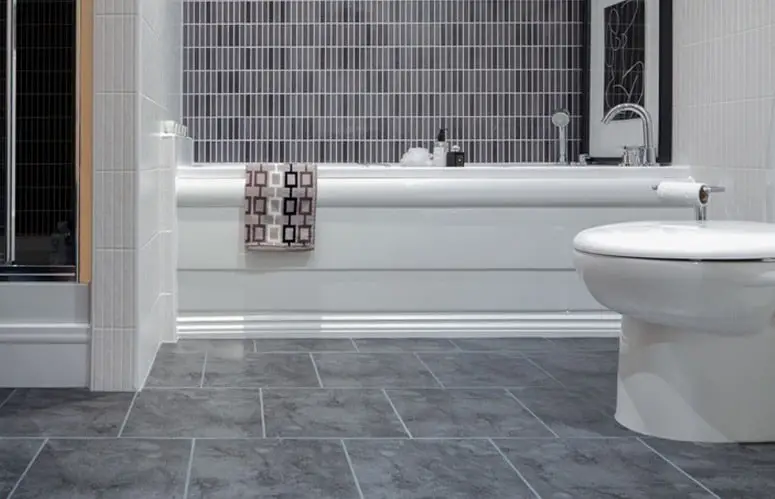
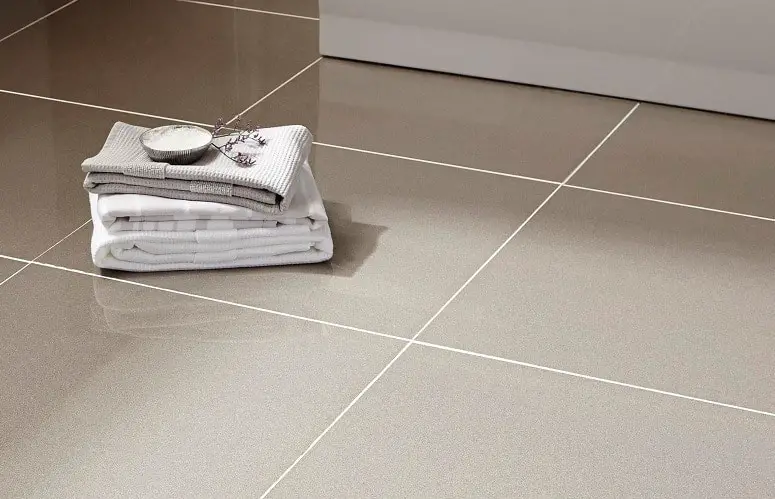
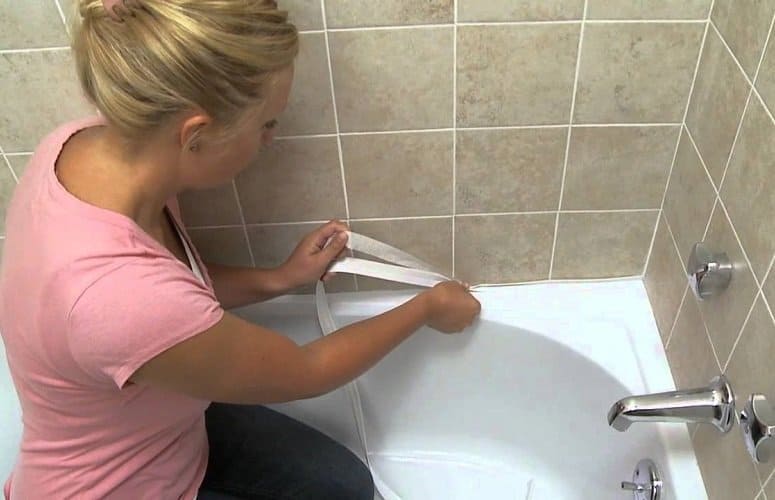
Tiling a floor, especially if it’s a bathroom requires more than just creativity. In fact, there’s hardly any room for mistakes, as these errors can be extremely costly and time-consuming. Nevertheless, we can give you pointers for a start:

Step 1. Tile when the bathroom is still empty. The best time to tile the bathroom is when you still don’t have the toilet, sink, and cabinets or shelves. All you have is a flat wall and floor. You won’t have to spend a lot of time cutting the bathroom tiles and reshaping them to ensure they fit the mold of the installed accessories.
Step 2. Clean the area. It doesn’t matter if it’s an old or new bathroom. See to it that the floors and walls are spic and span. Use a vacuum cleaner that is good for tile floors. There should be no dirt or grime, as well as holes. You need to have a very even and smooth surface to successfully install the tiles.
Step 3. Have all the tools you need ready. There are quite a lot, and usually, this depends on what tile you’re planning to put up. Usually, you need to have a primer to smooth out the surface. You may also need a trowel if you require mortar, along with a sealer, tile cutter and saw, spirit level, grout spreader, and tile-cutter – just to name a few.
Step 4. Measure the area. The dimensions of your bathroom floors and walls can determine the sizes of tiles you should use as well as answering the question of how many tiles do I need to purchase.
Step 5. Start at the center. This is especially true if you’re working on the floor. Doing this allows you to highlight any specially designed tiles you wish to show off in the bathroom. This also ensures you end up wasting very little tiles by the time you end up in the corners.
Step 6. Grout. You don’t just grout the floors but also the bathroom walls. Grouting allows for a more even finished look of the tiles. This also prevents the build-up of water along the joints, causing the early deterioration of your tiles.
Find out why tile flooring is ideal for your kitchen.
Basic Tips for Tiling A Bathroom Floor

Common sense is your best friend when taking on a job such as tiling your bathroom floor. If you happen to ask more than one person how to go about it, then you are going to have more than one theory about what works the best.
Working on about any project certainly has its pitfalls. I have seen guys all my life tell me they were going to fix something on their car and would be over in 45 minutes to an hour, only to be tied up for several more. Well, with just a little research, like reading this article, you can get yourself pointed in the right direction quickly.
Basic steps. That’s what you need. From there, if any problem arises, just be sure and know which step you are on, and which step you are working toward next. Anything in between is just something to solve before advancing. The following steps will show you the basics of how to install tile on your bathroom floor.
Remove Toilet
First Step – The Throne. The toilet must go. Be sure and turn your water off and flush, take a wrench to the brass fitting then take a screwdriver and remove your caps.
Faster isn’t necessarily better. Don’t rush. Think about each thing you are doing, and let common sense rule the day. Good common sense and logic are invaluable in this kind of work.
Remove Molding
Next, go around and remove your molding from the base of the floor and wall. Be easy if you are going to use the same molding, as some do, and try not to break it.
Mix and Apply Mortar
Next mix your mortar. Be sure and use enough water, but don’t make it too soupy. It’s mud you’re after. You will need a trowel to lay it down and spread it out.
Lay Tile
Next Step is to lay your tiles out in whatever pattern you want them. As you lay them, push down on them gently to set them in the mortar and make them stick. Don’t forget to use spacers for an even pattern when you are laying floor tile.
Apply Grout
Now you take a rubber grout float and some water and apply the grout. Wet-sponge the excess away.
Seal and Replace

A bit later after things have dried, you can apply a sealer to your new floor. For now, you have to backtrack and replace what you took off. No need for a plan for that, putting things back is just good common sense.
If there is anything that can beat ceramic tile for a bathroom floor, I’d like to know what it is. Durable and nearly impervious to water damages, ceramic tile also is adaptable to just about any architectural style.
The ceramic tile industry now offers an incredible variety of tile as well as reliable materials for setting it. If tile is more expensive than some other floor coverings, keep in mind that it can last as long as the house with little upkeep.
True enough, but a tile floor can be a nightmare if you have no idea how to carry out tile installation, or if it is not laid out and installed carefully on a well-prepared subfloor.
One of the key early considerations is the substrate on which the ceramic tile will be installed. Floating a mortar bed at least 1.25 inch thick used to be the only choice, but now there’s a better option: quick to install cementitious backer board.
Discover how to clean travertine showers.
Conclusion
As for the ceramic tile itself, durability and smoothness are of major concern. Most tile manufacturers rate their tiles for durability by classifying them as residential, commercial, light industrial or industrial.
For a bathroom at home, the residential grade is just fine. Smoothness is rated on a numerical scale measuring the coefficient of friction, or COF. Even though the roughness scale goes all the way to 9, I have found that a rating of 0.6 provides good slip resistance to ceramic tile.
Just keep in mind, though, that the COF goes down when the tile is wet. If you don’t find the COF specified on the tile box, you can call the manufacturer for the information.
Resources
DigsDigs , ElleDecor
 , and TheSpruce
Declutter your home once and for all (Even if you have no time and don't know where to begin)! Learn More.

