Not much is more annoying than the sound of your vacuum cleaner struggling to do its job. Not only can it be frustrating, but it can also indicate that you need to clean or replace the filter inside the appliance. Cleaning your shark rocket filter is easy because all you have to do is remove each component and rinse it under running water.
Here’s how to clean your Shark Rocket vacuum filter in 6 easy steps:
- Unplug the vacuum and turn it off.
- Disassemble the filter.
- Remove all obstructions in the openings.
- Rid the filter of dirt and dust.
- Wash the filter under cool, running water.
- Let the filter dry.
Keep reading for detailed information on each of these steps and the precautions to take when cleaning your shark rocket vacuum filters. You’ll need cool, running water and a dusting brush or small cloth for the procedure.
1. Unplug the Vacuum and Turn It Off
Before you do anything, always unplug the vacuum and turn it off. If you wash your Shark Rocket vacuum filter while the vacuum is powered, you could cause damage to your appliance by shorting it out.
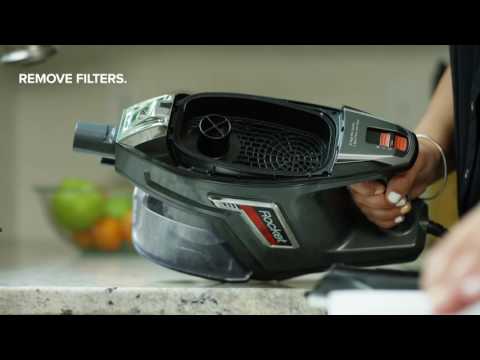
2. Disassemble the Filter
Disassemble the filter as is described in your Shark Rocket user manual. On my model, I have to remove a few components before accessing and cleaning the filter.
You should see two filters that need cleaning: A pre-motor filter and a post-motor filter.
Note: The manufacturer recommends that you wash the pre-motor filters once a month and the post-motor filter once every 9 months (source).
In this regard, I recommend this Colorfullife 6 Pack HV300 Replacement Filters (link to Amazon). They’re highly durable, snug, and affordable, making them a worthwhile alternative to the OEMs
3. Remove All Obstructions in the Openings
Once you’ve removed your Shark Rocket vacuum filters, you should be able to see any objects that may have fallen into the filter’s openings.
If you find anything in either opening, remove it immediately.
After removing all obstructions from both filter openings, continue to step 4 to wash your shark rocket filters under cool running water.
4. Rid the Filter of Dirt and Dust
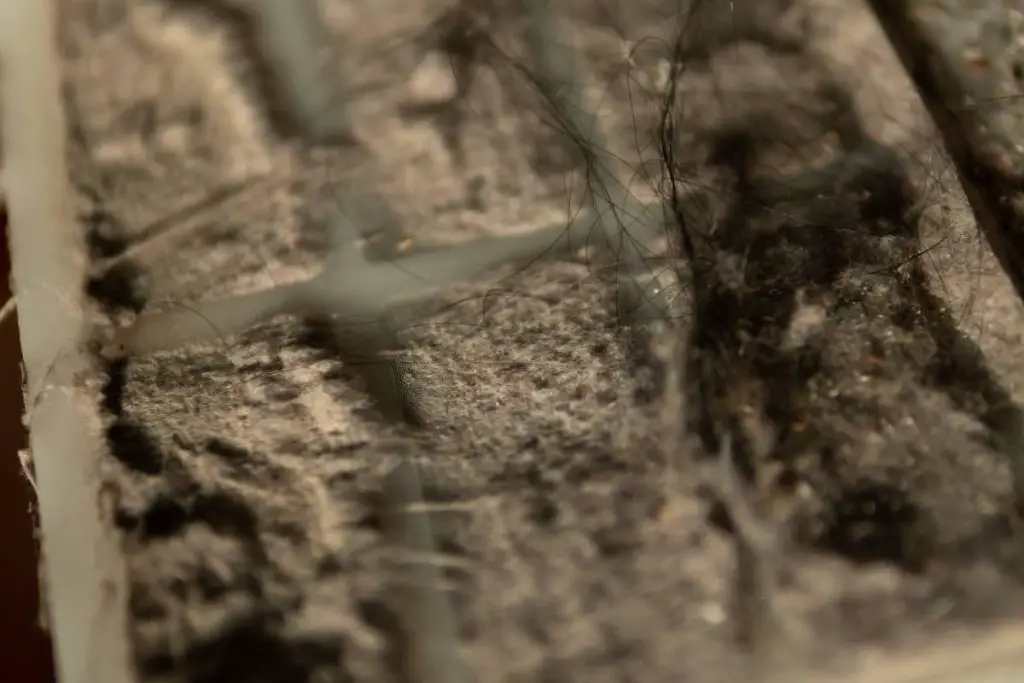
Gently brush away any dirt and dust that you can see through the filter. Only use a soft bristle brush for this procedure—a hard brush may tear the delicate filter.
If your pre-motor filter is dirty, gently scrub it with a gentle cloth or duster to rid it of as much dust as possible.
Doing this will ensure your Shark Rocket vacuum can suck up as much dirt and dust as possible when you return the components.


5. Wash the Filter Under Cool, Running Water
Once you’ve brushed away all of the dust and dirt from each filter, take them over to a sink with cool running water.
Place one of the filters underneath the running water.
Scrub it gently using your hand to rid any remaining dust or dirt that may be clinging to it.
Once you’ve scrubbed away as much dirt and dust as possible, place the filter under running water again and let the water run through it until it runs clear.
Repeat with each filter until both are clean.
Caution: Shark recommends that you don’t use soap or any type of cleaning agent to clean your filters (source). Also, don’t use anything sharp, such as a hard brush or wire to clean your Shark Rocket vacuum filters. Doing so can put tiny tears in the thin filtration material and make it much less effective at trapping dirt and dust.
6. Let the Filter Dry
After you’ve finished washing your Shark Rocket filter under cool, clear running water, cover it with at least five layers of paper towels and leave it alone until completely dry.
The time it takes for your filter to dry will depend on how wet it is when you put it into its final resting place.
If your filter is still dripping with water after step 5, it’ll take longer to dry than a filter that is already beginning to dry.
When the filters are completely dry (the manufacturer recommends waiting for up to 24 hours), place them back where they belong.
Here’s how to reassemble the filters in 5 easy steps:
- Pop in the pre-motor filter into its designated spot, replacing any components that you removed earlier.
- Replace the post-motor filter into its corresponding spot, once again replacing any accessories that you may have moved for easy access to your filters.
- Replace the dust container and close it tightly with both hands.
- Replace and gently snap in the filters and their respective components to ensure nothing comes loose when you use your vacuum again.
- Plug in your Shark Rocket, turn it on and run it for a few minutes before using it to ensure that everything is working correctly.
With that, your Shark Rocket vacuum filter is now clean, the dust canister is empty, and you’re ready to resume vacuuming!
Here’s a video that shows how to clean your Shark Rocket Vacuum Filter:
Caveat: Shark discourages washing felt filters since this could damage the fibers and diminish their ability to filter. They recommend hand-washing them in cool, running water instead.
Also, Shark doesn’t recommend washing any part of your Shark Rocket vacuum in extremely hot or cold temperatures because it can also cause damage to materials used in its design.
In addition, it would help to note that the manufacturer recommends replacing filters every 3 months or less for optimal performance.
Final Thoughts
So there you have it, the lowdown on how to clean Shark Rocket filters. Whether your filter is dirty or dusty, all you need are cool running water and a dusting brush to do the job—perfect for when you want to save money by cleaning your vacuum yourself!
Just ensure while performing these steps, you’re gentle with your filters and handle them correctly. Since you need to replace the vacuum filters every 3 months, ensure you keep up with this schedule because dirt trapped in your Shark Rocket filter can cause damage over time.
Recommended Reading:
Why Does My Shark Vacuum Not Have Any Suction?
Declutter your home once and for all (Even if you have no time and don't know where to begin)! Learn More.
