Stairs are the kind of thing you can’t really afford to slack on when it comes to maintenance. If they give way you may not only be looking at a very dangerous fall, but also thousands of dollars in repair bills.
Giving the stairs in your home a regular touch-up will save you a lot of money and headaches in the long run… but how exactly can you tell when you need to work on them?
Well, when they start to squeak and creak when you walk on them or clean them it should generally serve as your wake-up call.
While you can always call a handyman to get the job done for you, perhaps you should consider saving yourself some money and look at the following steps for how to fix squeaky stairs.
Here is a guide to keeping the carpet on your stairs clean.
Tools and Materials

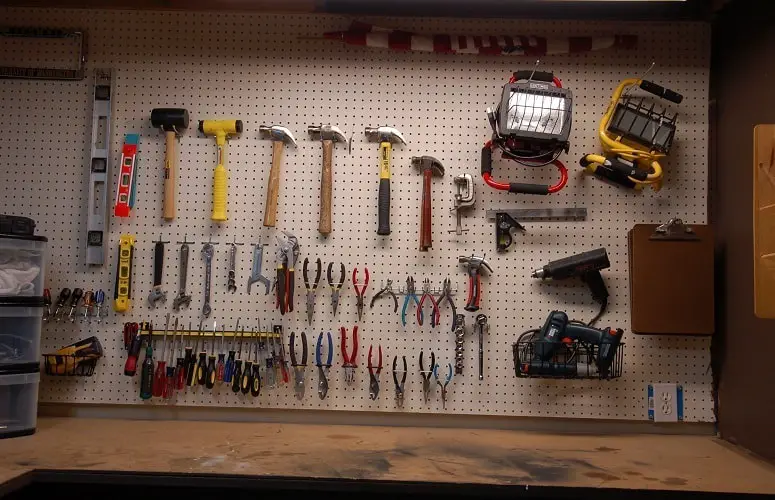
We’re talking about a relatively small and light project here so you’re not going to need much in terms of materials. As a matter of fact, chances are that you already have everything you need in the garage.
Anyhow, you will require a hammer, a cordless drill, a pry bar, knee pads, subfloor adhesive, some 2 and 4-inch screws. If you lack any of these you can easily buy them at your local hardware store.
In terms of time, the whole operation takes about two to four hours, depending on the size of your stairs as well as the amount of experience you possess in carpentry.
Three Simple Steps to Silent Stairs

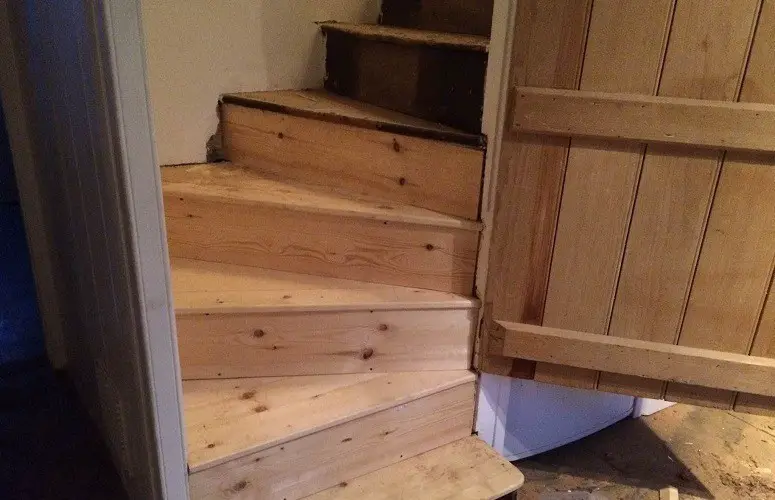
Step 1 – Once you have all the necessary tools and materials, you must begin by removing the carpeting covering your stairs if necessary. Once they are exposed, remove the treads one by one with the pry bar, taking the nails out and seizing the opportunity to clean the carpet pad. You can also use the 4-inch screws to bind the outside stringers to the studs.
Step 2 – The second step calls for you to take your subfloor adhesive and use it along the top of the riser, the back of the tread, and the stringers. Once the glue is in place press the tread back in position and hold it for a few minutes to ensure a tight fit. Always start with the bottom tread and work your way up to the top. Once it’s in place, take three 2 inch screws and drive them through the top of the tread and into the stringer.
Step 3 – As you’re done with the second step, pick up some of the 2-inch screws and drive them through the riser into the back of the tread, lodging it straight between the stringers for some added stability.
Finally, all you have to do is repeat those three steps over and over for every single tread until all the squeaky culprits are taken care of. The stairs will be inaccessible while you’re doing all of this so make sure you have the time to do it from the beginning to the end and don’t forget to warn others in the house of your endeavors.
Conclusion
Once you have put your stairs back together, you should give them a really good vacuum and a clean before re-carpeting or painting. Vacuum cleaners that are cordless work best for stairs.
Learning how to take care of small handyman projects around the house by yourself can save you lot of money in the long run, and squeaky stairs are as good a place to start as any.
You should also read a guide about carpeting your stairs.
Resources
Declutter your home once and for all (Even if you have no time and don't know where to begin)! Learn More.

